Add a new employee
You can add an employee one at a time using the 7 step wizard, or in bulk by uploading a CSV or Excel file. Both options live on the All Employees page and are open to admins only.
Add one employee
- On the left hand sidebar, under HR Hub, click All Employees.
- Click Add Employee in the top right.
- Step through the wizard. The first three steps are required, the rest are optional and can be filled in later from the employee’s profile.
What’s in each step
- Step 1. Personal. First name, last name, work email, mobile phone.
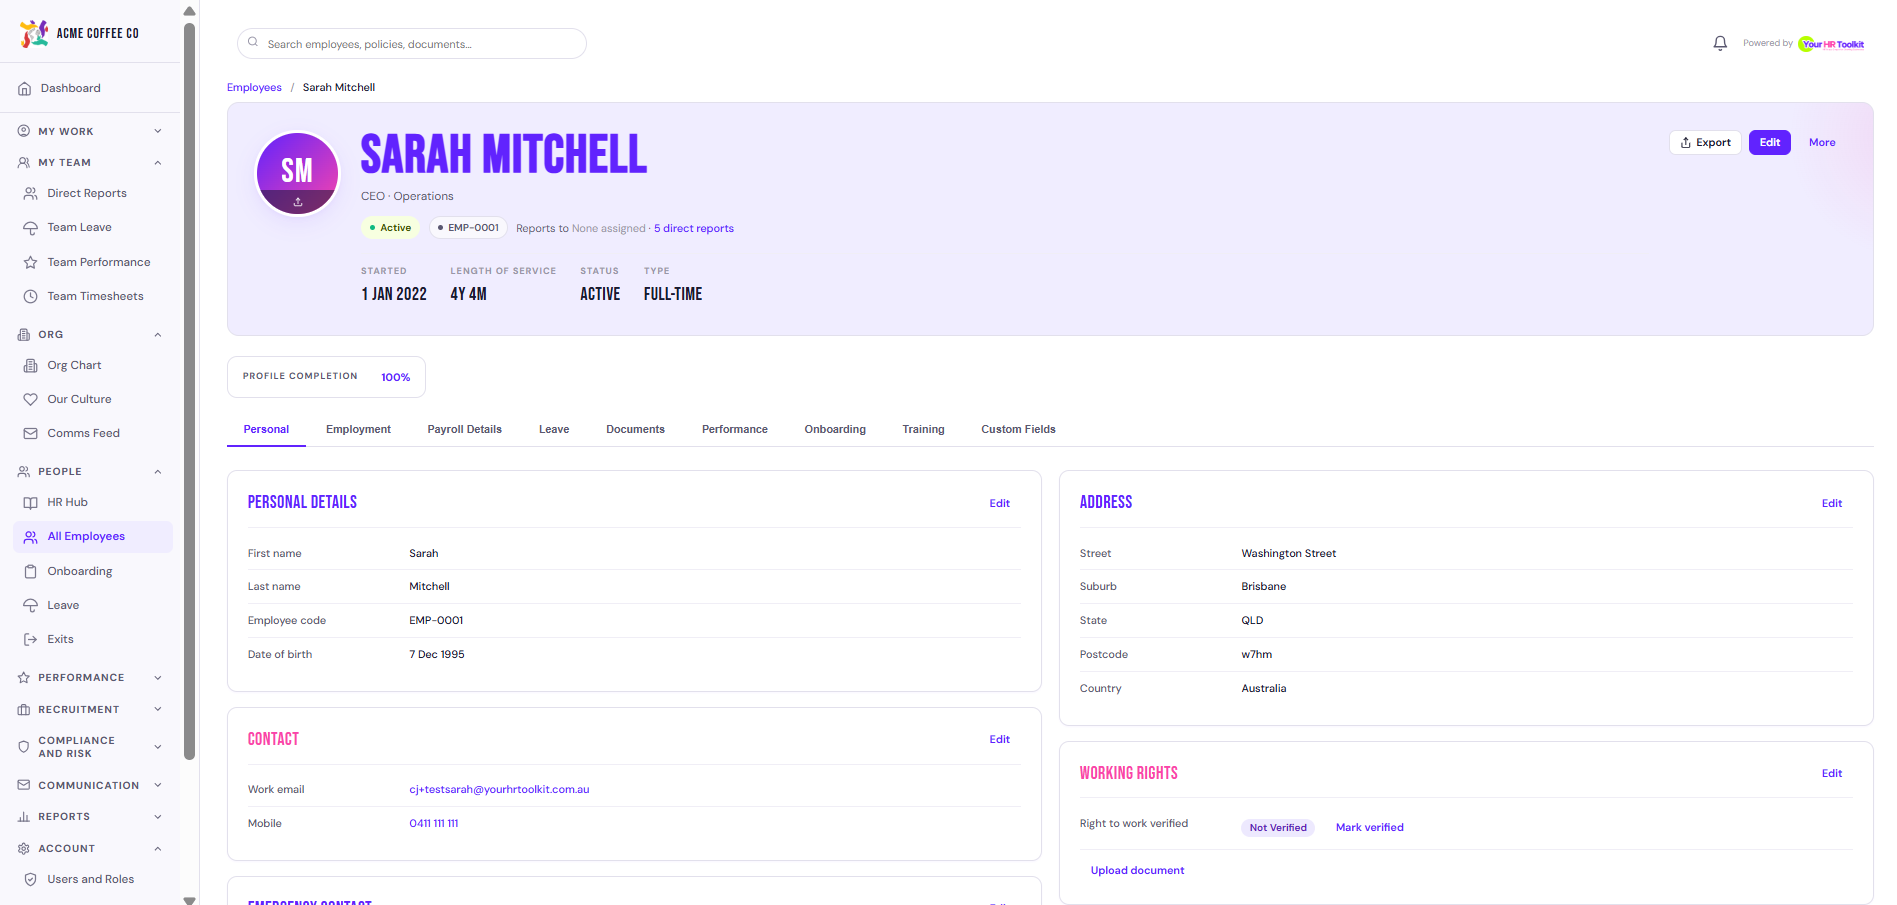
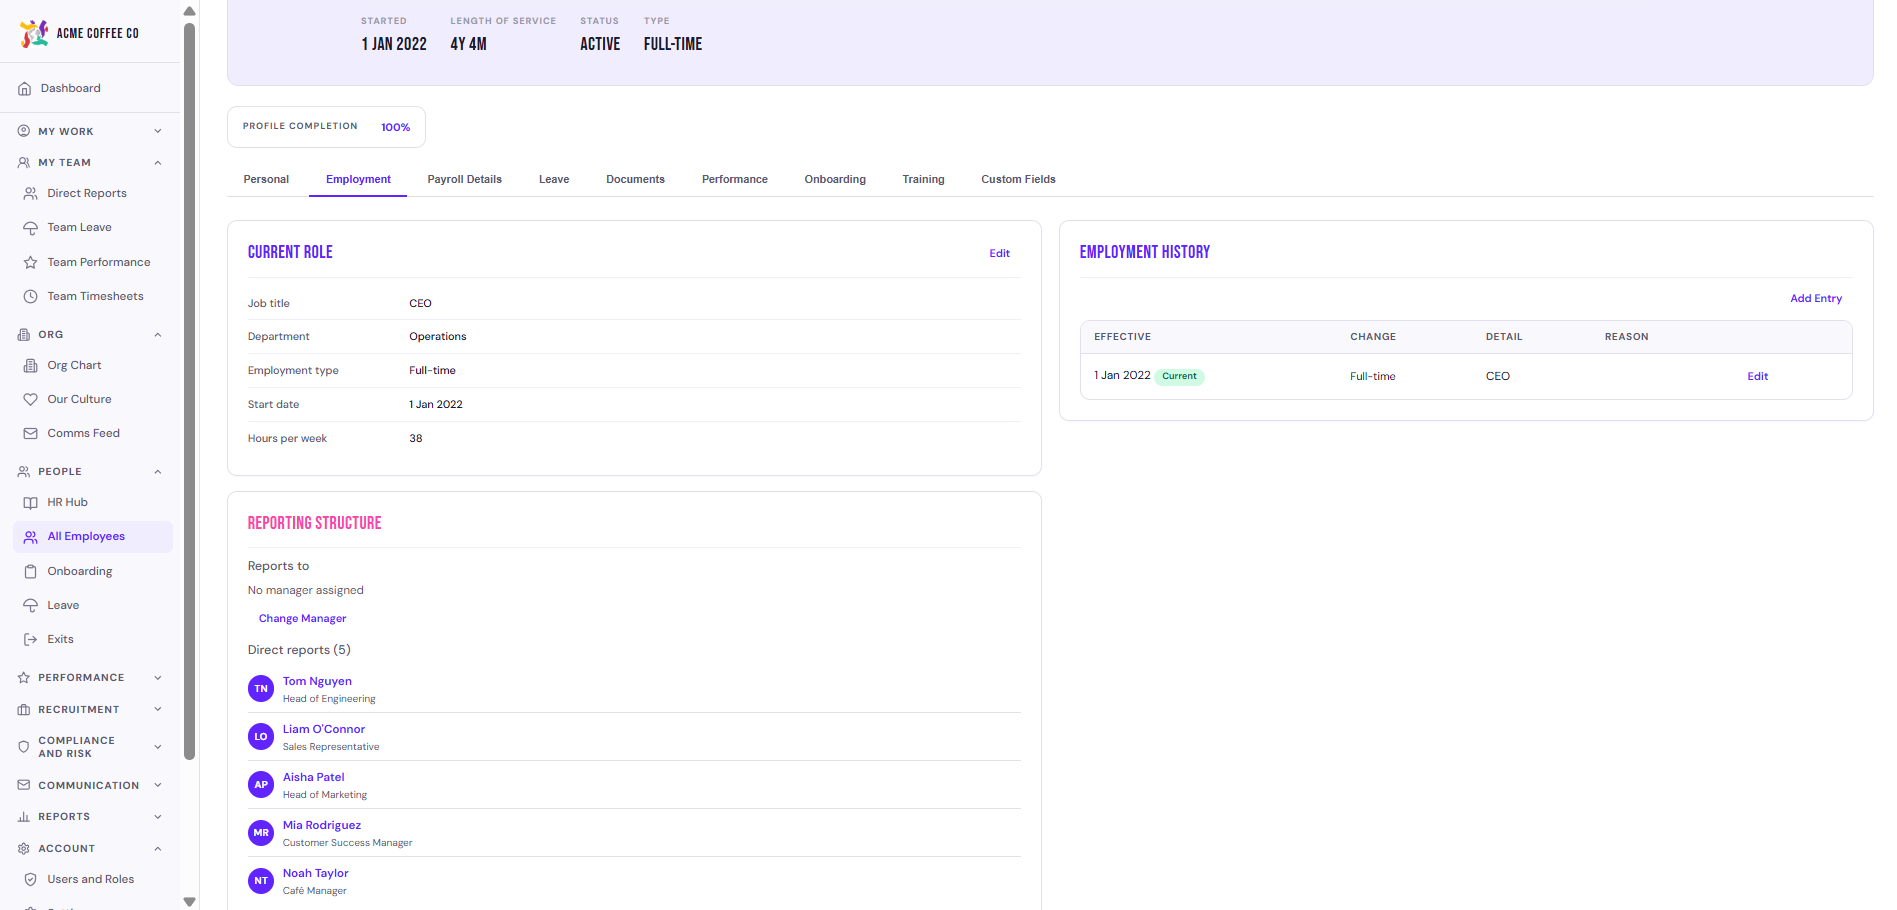
- Step 2. Employment. Job title, department, employment type, status, start date, who they report to, and their platform role.
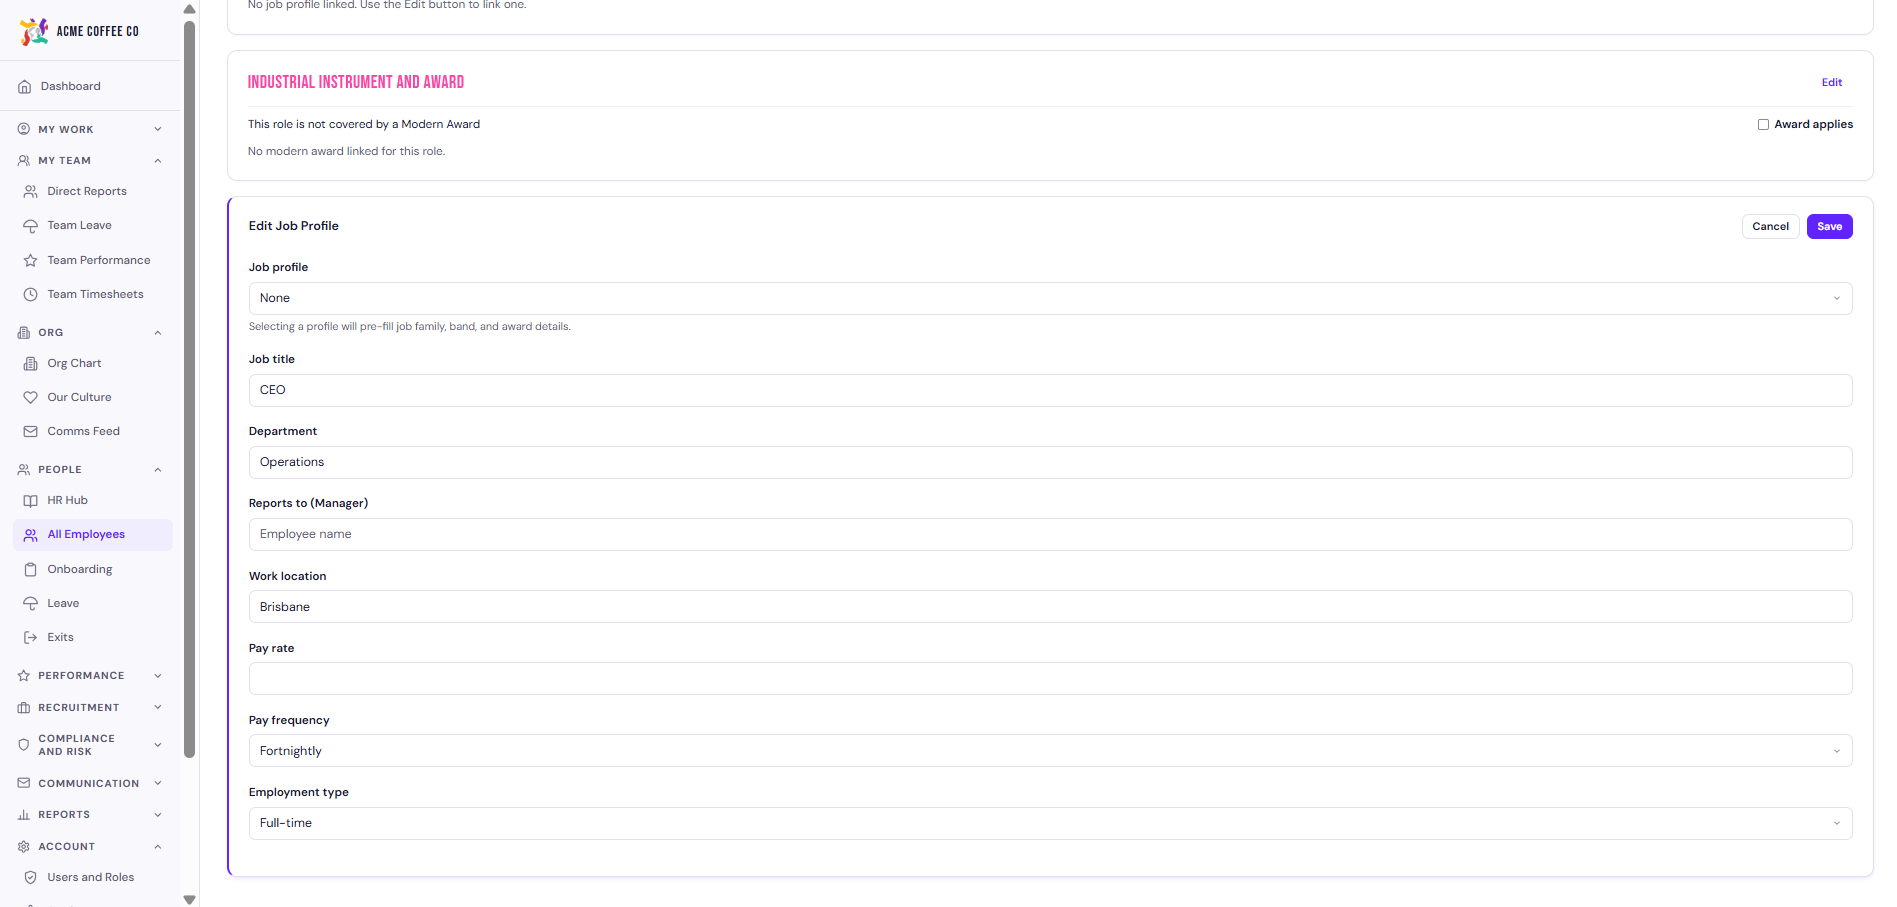
- Step 3. Job. Job profile, modern award (if applicable), and pay details.
- Step 4. Tax and super (optional). TFN (encrypted on save), basis of payment, tax residency, tax free threshold, super fund details, contribution rate (default 12 percent).
- Step 5. Banking (optional). BSB, account number, account name.
- Step 6. Emergency contact (optional). Contact name, relationship, phone.
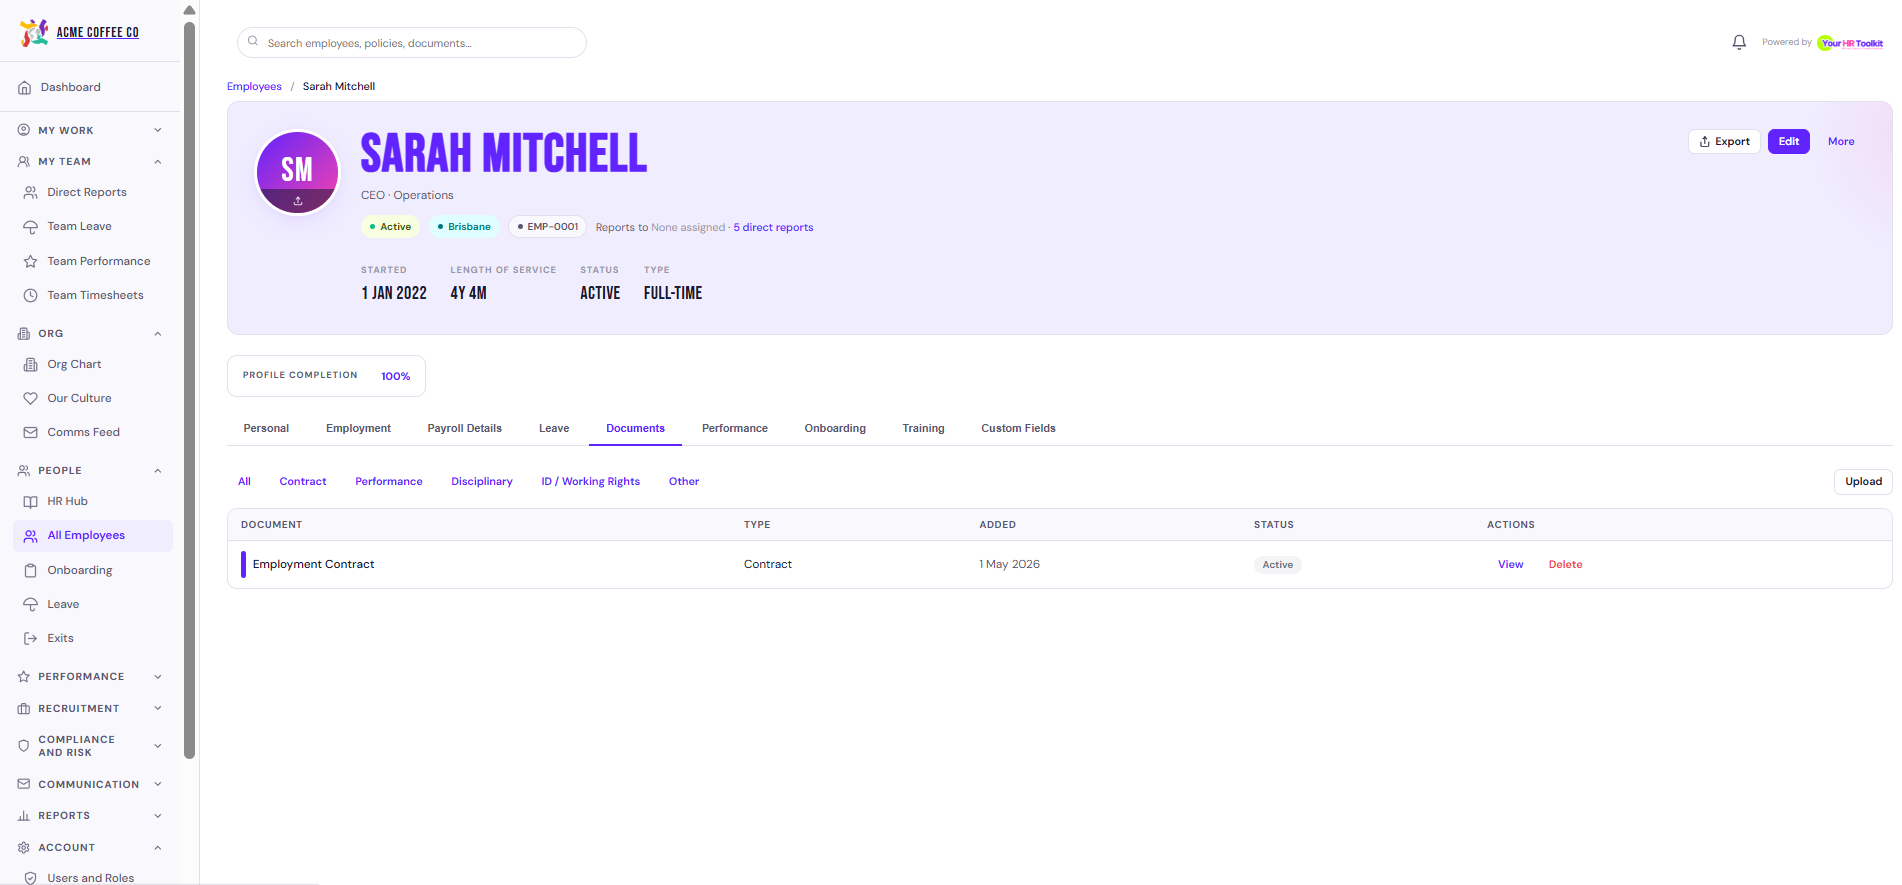
- Step 7. Contract and documents (optional). Toggle whether to generate a contract, plus onboarding document options if status is Onboarding.
How status changes what happens next
You’ll set a status in Step 2. The two common values behave differently:
- Active. The employee record is created. No email is sent. They won’t know they’re in the system until you send them an invite (see Invite an employee to the platform).
- Onboarding. The system creates the record AND sends them a welcome email with a sign in link straight away, so they can start their own onboarding portal (super choice, bank details, contract signing).
Behind the scenes, saving an employee fires the platform’s new starter workflow, which sets up their leave balances and runs any custom workflows your organisation has configured for new starters.
Bulk import via CSV or Excel
For a bigger team, use Import Employees instead.
- On the left hand sidebar, under HR Hub, click All Employees.
- Click Import Employees in the top right.
- Download the Full template (every field) or Custom template (pick the fields you have data for).
- Fill in the spreadsheet. The locked fields (employee_id, first_name, last_name, email) must always be present. Everything else is mappable.
- Upload the file, review the column mapping, validate, and import.
Employees added via bulk import default to Active status. The import does not send platform invites automatically. Use Invite to Platform from the Employees list when you’re ready for them to log in.
Who can do this
Admins only. Managers and employees can’t add employee records.